Text Outline with GIMP
Published: 2015-11-14
Updated: 2015-11-25
Web: http://fritzthecat-blog.blogspot.com/2015/11/outlined-text-with-gimp.html
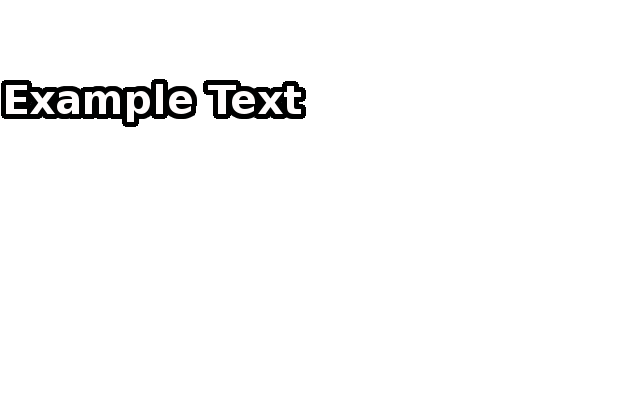
This is about creating a transparent outlined text image with the GIMP image editor, to appear in a video as overlay. Such a text over a video might not always be readable, as its color could dissolve in the video background. Thus I want to have a so-called "outline" on the text, that means there is a border around the letters, something like this:
I searched for GIMP tutorials about outlining text and started to try out what was described there, but I needed four of these tutorials until I was able to create what I needed. The problem is that GIMP is made by developers that prefer the technical approach, leaving out use-cases that a normal user would like to perform. Tutorials are similar, mostly pure technically, hard to understand by non-experts, and often incomplete.
But finally I melted together a solution that worked for me, and this article is my cheat-sheet for future text outlines. I am here referring to GIMP Version 2.8.10 on Ubuntu LINUX.
Abstract
What are we going to do, in technical terms?
- Create a new transparent image
- Write some text into that empty image
- Generate a "path" (shape) of the text, held in some GIMP buffer
- Create a new transparent layer for the image
- Put the "path" from GIMP buffer into that layer
- Widen the "path" (that in fact is the outline)
- Reverse the order of the layers so that the "path" is below the text
- Fill the "path" with the inverse text color
A consequence of that procedure is that you can not change the text any more after outlining it.
Step by Step in Text
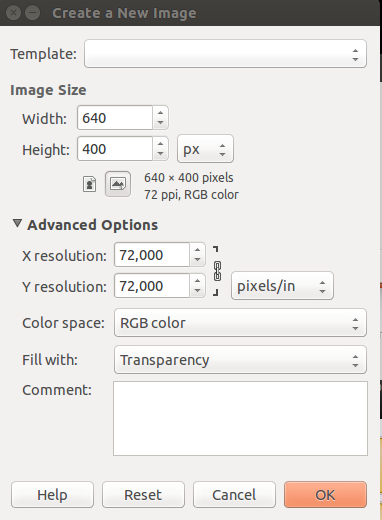
- Open GIMP and click "New" in the main menu. Choose the aimed pixel dimension of your image, then click "Advanced Options" and choose "Transparency" for "Fill with". Click "OK".
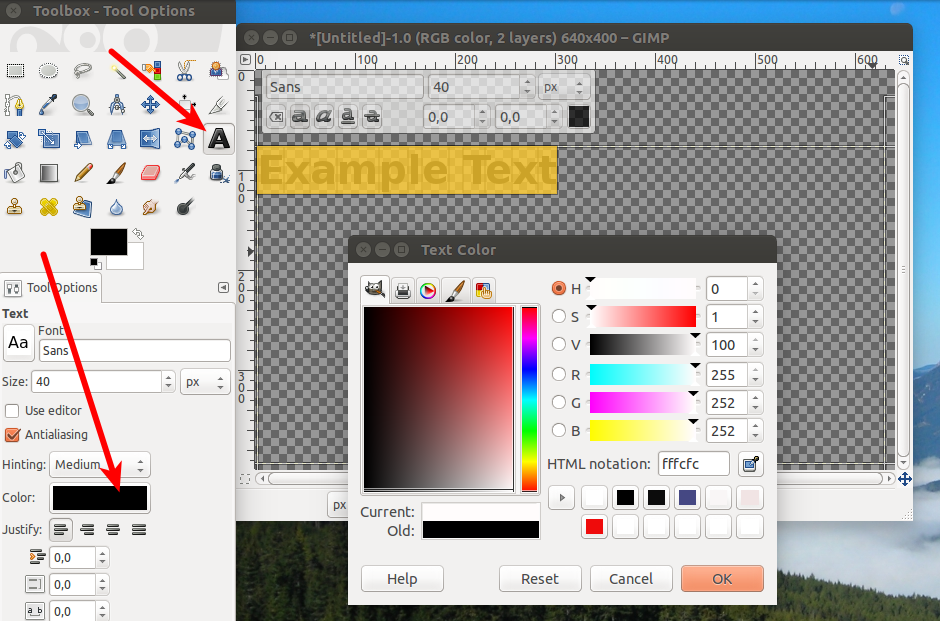
- Now select the text tool on the Toolbox window (the big "A" button) and mark a text area on the image by dragging the mouse from upper left to bottom right. You can write text when you click inside that area. To customize the font, select the text and make settings on the Toolbox window.
- Correct the typos in your text, you won't be able to change it after the outline has been added.
- Right-click within the text area to open the context-menu (popup-menu) and click the "Path from Text" item. Nothing visible happens by that action, just the shape of the text is copied into a GIMP buffer.
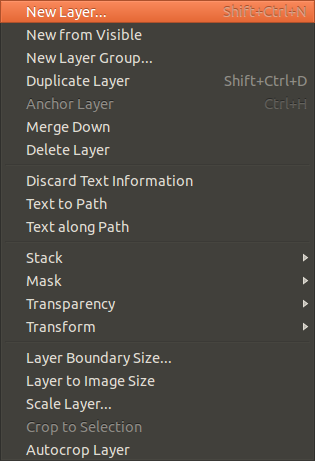
- In the main menu, click "Layer" - "New Layer". On the opening dialog, enter a name (e.g. "Outline") and choose "Transparency" for "Layer Fill Type". Click "OK" to create the layer that will carry the outline.
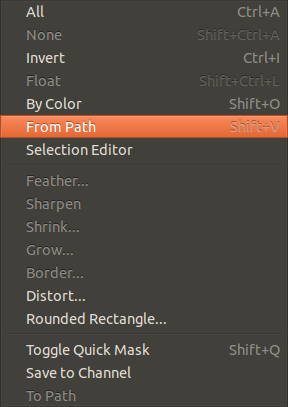
- In the main menu, click "Select" - "From Path". This copies the buffered "path" into the new layer. The text is now surrounded by a dashed animated border.
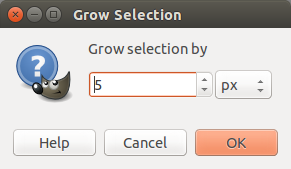
- Again in the main menu, click "Select" - "Grow" to increase the size of the border around the letters. A dialog opens, choose 5 pixels and click "OK". The outline is now visible, although still transparent.
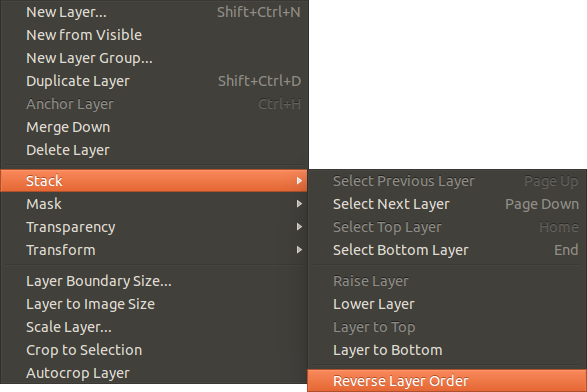
- Once more in the main menu, click "Layer" - "Stack" - "Reverse Layer Order". This will swap the layers, and the outline will be below the text. This will have no visible effects, because the outline is still transparent.
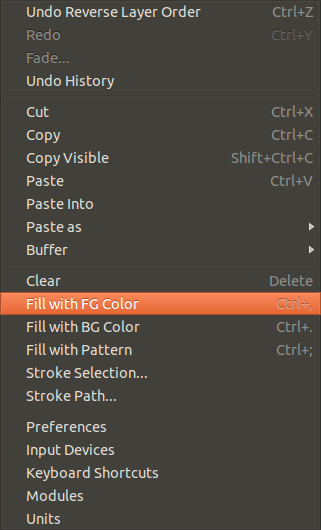
- On the Toolbox, choose the inverse color to your text color. If your text is white, choose black. Then click "Edit" - "Fill with FG Color". The outline should be visible now.
- Click "Save As" in the main menu to save in GIMP format, or click "Export As" to save as .png image.
Step by Step in Screenshots
- Create a new transparent image with main menu "New".
- Choose a color and a font and write the text.
- Correct the typos in your text, you won't be able to change it after the outline has been added.
- Generate a "Path from Text" via context menu on the text area.
- Create a new layer in main menu "Layer" - "New Layer".
- Get the "Path" into that layer by main menu "Select" - "From Path".
- Widen the "Path" by main menu "Select" - "Grow".
- Swap the layers by main menu "Layer" - "Stack" - "Reverse Layer Order".
- Fill the "Path" with a color by main menu "Edit" -"Fill with FG Color".
- Save result, or "Export As" .png
I hope this article is helpful. At least for me it will be, when I create my next video.
Don't let yourself discourage by "Techno"-software!
ɔ⃝ Fritz Ritzberger, 2015-11-14